Bulk Email Verification: How to Clean a List Before You Send
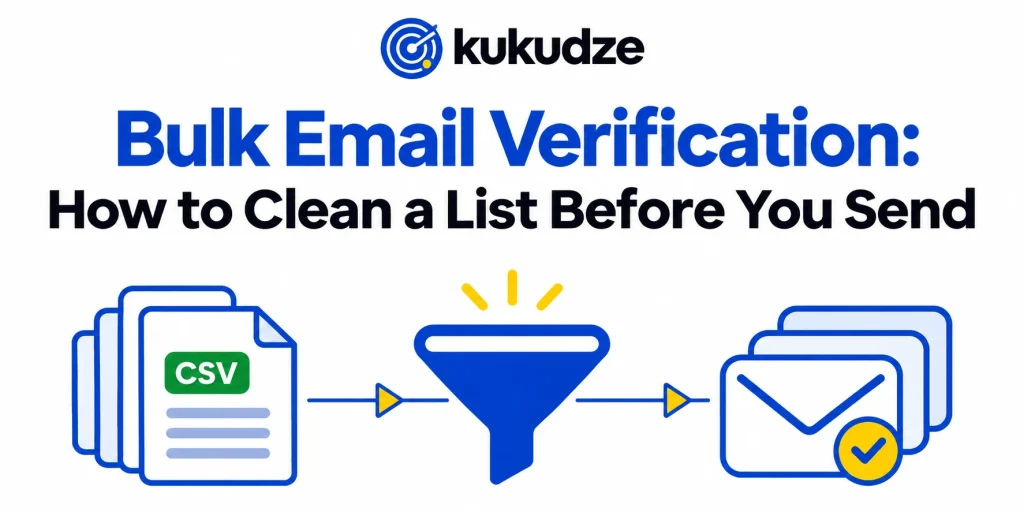
Bulk email verification is the job of checking an entire file of addresses in one pass, usually from a CSV or spreadsheet export. You upload the column, wait for statuses, then decide which rows may stay in the next campaign. Done before you hit send, this is how you verify an email list without turning the campaign itself into a quality test.
This walkthrough covers the practical sequence: export, prepare, run, interpret, suppress, and only then load the file back into your sending tool. On kukudze, each row comes back as Valid, Invalid, Risky, or Unknown. Other tools use their own names, so rely on the result names printed in the file you download.
New to the category? Start with this primer on verifier tools. A later tutorial will stay closer to spreadsheet mechanics in Excel and CSV. Sales teams cleaning a prospect sheet can follow verifying emails before outreach.
Why the file should be cleaned before the campaign
Email platforms often tidy bounced records after a send. That is useful maintenance, and it differs from preparing the file in advance.
Mailchimp’s bounce help page says the platform tracks delivery after a campaign goes out and then stops mailing addresses that bounced. The same page is blunt about the limit of that safety net: Mailchimp “is not a contact cleaning service.” If you import a stale or invalid audience, you can still trigger a spike of undeliverable mail, complaints, or unsubscribes, and those rates can put the account at risk. Mailchimp’s cleaned-contacts article adds that a hard bounce (or repeated soft bounces) moves a record to a cleaned state so later campaigns skip it, and that even a valid mailbox can sometimes hard bounce.
Waiting for that cleanup means the damage is already counted. Google’s email sender guidelines direct senders to confirm addresses at signup, to avoid purchased lists, and to drop people who bounce over and over. Google also requires senders to keep Postmaster Tools complaint figures below 0.30 percent. A bulk pass lets you honor the spirit of those rules on the records you already store, not only on new form entries.
Step 1: Export a current copy of the list
Work from a fresh export, not a file that has been sitting on a laptop since last year.
- Export from the system that will actually send (your email platform, CRM, or store), so the rows match live records.
- Include the email column and any identifier you need to merge results back (a contact ID, for example).
- Note the date of the export. You will want that timestamp if someone asks which version you cleaned.
- If several teams hold copies of the same audience, pick one source of truth so you do not re-import stale rows later. Write the source system name on the export itself so later reviews can see where the file came from.
You do not need extra personal data in the upload. A verifier only needs the address. Leaving names, phone numbers, and purchase history out of the file reduces how much you share.
Step 2: Prepare the CSV or spreadsheet
Most bulk email verifier products accept a CSV, and many also accept a common spreadsheet format. Before you upload:
- Keep one address per row in a clearly named column
- Remove completely empty rows so you do not spend checks on blanks
- Decide whether to drop exact duplicates yourself or let the tool skip them (policies differ; some vendors do not charge for duplicates)
- Do not “fix” addresses by guessing. Changing j.smith@compan into a domain you invented creates a new bad record
- Save a copy of the raw export so you can compare it with the labeled file
If your sheet uses several tabs, export only the tab that holds sendable contacts. A workbook that mixes customers, leftover test rows, and an old vendor list will pollute the results.
If the export arrived from a CRM, scan a handful of rows for concatenated fields (an address glued to a name, or two addresses in one cell). Split those before you upload. A verifier can only score the string it receives, and a cell that contains two mailboxes will usually fail for a mechanical reason that is unrelated to either person.
It also helps to record the permission source next to each row in your own working sheet (form, checkout, import, manual add). The verifier will not read that column, but you will need it when you decide whether a “valid” result is actually someone you may mail.
Step 3: Run the bulk check
On kukudze, you paste the list or upload a CSV or TXT file, and each address is checked. Save a spreadsheet as CSV first. You need a free account with a confirmed email before the first check. Match the file size against the row limit of your plan.
Each plan on the pricing page has a monthly check limit and a row limit per list. Free ($0) gives 100 checks a month and lists up to 50 rows. Starter ($9 a month) gives 2,000 checks and 1,000 rows, Pro ($19 a month) 5,000 checks and 5,000 rows, and Agency ($39 a month) 15,000 checks and 15,000 rows. The paid plans are marked coming soon and cannot be bought yet, so Free is the plan open today. Every plan runs the same four checks: format, mail routing for the domain (MX), the mailbox answer, and accept-all detection. Plans differ only in checks per month and rows per list.
Count the unique rows in your file against your checks left this month and your plan’s row limit before you start. If the file is larger than the row limit, split it into numbered parts, keep one master copy, and mark each part as done so no part is checked or mailed twice.
Start the job and wait for it to finish. Processing time depends on list size and on how receiving servers respond, so there is no honest universal clock. Do not send the campaign from the original export while you wait. kukudze shows the results in your browser and does not store the list on its servers, so download the CSV as soon as the job is done.
Step 4: Read the labeled results
Open the download and look at the status on each row. Vendor wording varies. kukudze labels each row Valid, Invalid, Risky, or Unknown, and a Valid row on an accept-all domain carries a note. The list below uses common industry terms, so map them to the labels in your file:
- Valid / deliverable: the mailbox accepted the check. These rows are the usual “keep” set for a permission-based send.
- Invalid: the string failed syntax, routing failed, or the mailbox was turned away. Suppress these before import. A later guide covers stripping undeliverable rows.
- Unknown: no conclusive answer came back. Hold these out of a large promotional send and review them, rather than auto-deleting customers at strict providers.
- Accept-all / catch-all: the domain answers yes to every local part. They need a separate rule, which the catch-all article will cover.
- Disposable, role-based, or other risk flags: some tools add these. kukudze does not, so spot shared inboxes such as info@ yourself. These rows are not always undeliverable. Decide by campaign type (a shared billing inbox may be fine for invoices and a poor fit for a sale announcement). Role-based email addresses explains how to judge shared inboxes like that one.
If two columns seem to disagree (for example a “valid” status next to a disposable flag), trust the more specific flag for that send. The hygiene checklist will put these decisions in a wider maintenance routine. To turn each status into a decision, use the walkthrough on reading a verification report.
Step 5: Suppress or correct, then load the file back
Create a sendable version of the list instead of editing the raw export in place.
- Keep invalid rows in an archive or suppression file so you do not mail them again by accident.
- Correct only the typos you can prove, such as a contact who writes back with the right address. Mailchimp notes that a cleaned contact cannot be edited in place; you add the corrected address as a new record, with permission.
- Apply your rule for held, accept-all, throwaway, and role address rows. Write the rule down so the next person on the team does not reverse it.
- Import only the sendable set into the platform, or use the platform’s suppression tools so excluded rows stay in the account but are skipped.
- Match on the identifier you exported, not on name, so merges do not attach results to the wrong person.
Do not re-subscribe people who already unsubscribed just because their address came back valid. Permission and deliverability are separate questions.
Step 6: Send a normal volume, then watch what bounces anyway
After the import, send the campaign you already planned. Do not suddenly double volume just because the file looks cleaner; Google’s guidelines warn that sharp spikes can cause rate limits or reputation drops.
A few bounces after a careful bulk pass are normal. Mailboxes disappear between the check and the send, and some servers accept a probe then refuse the real message. Add those new failures to your suppression file. If the bounce rate jumps, pause and inspect the results instead of pushing the rest of a segmented series out the door.
Checklist before every bulk run
- The export is dated and came from the system that will send
- The upload contains an email column and a merge key, not extra personal data you do not need
- Your checks left this month and your row limit cover the unique rows
- You know which statuses you will keep, hold, or drop
- A raw copy of the export is saved
- Unsubscribed and previously bounced contacts will not be forced back onto a marketing list
- Someone is assigned to review inconclusive and accept-all rows
- The campaign will go out only after the labeled file is imported
FAQ
How long does bulk email verification take?
It depends on the number of rows and on how quickly receiving servers answer. Vendors publish their own examples (some quote minutes for tens of thousands of rows, others quote about an hour for 100,000), so use the estimate on the tool you chose rather than a single industry number. Plan the campaign around the job finishing, not the other way around.
Should I verify a list I have not mailed in months?
Yes, before you resume. Addresses decay as people change jobs and providers close accounts. Mailchimp’s bounce article points to stale audiences and careless imports as common reasons bounce rates climb. Running the file first is cheaper than discovering the decay during a live send.
Does syntax-only cleaning count as bulk email verification?
It is a first filter, not a full pass. A syntax check catches many typos and malformed strings. It will not confirm that a person collects mail there. On kukudze, every plan, Free included, runs the format check plus the domain, mailbox, and accept-all checks, so each row gets the deeper pass.
Can I verify in Excel without uploading anything?
A spreadsheet can check simple patterns (presence of an @, a basic domain shape). It cannot ask a mail server whether the mailbox exists. For that you still need a verifier. The CSV tutorial later in this series will show a careful upload-and-merge path for Excel users.
What if my file is larger than my plan allows?
Split it into numbered parts that each fit the row limit, and keep a single master copy so parts do not get checked or mailed twice. Checks reset each month, so a large file can take more than one month on Free. kukudze pricing lists 1,000 rows per list on Starter, 5,000 on Pro, and 15,000 on Agency, but those paid plans are coming soon and cannot be bought yet.
Wrapping up
Bulk email verification is a short operations habit: export what you will actually send, run the file, act on every status, and only then load the sendable rows. The work feels slower than uploading an old spreadsheet into a campaign, and it prevents that campaign from becoming the cleanup.
When you want the wider monthly routine around this job, read the hygiene checklist for marketers. To try the upload flow, start from the kukudze product page and compare plans on the pricing page.
Check your list before you send. Try the verifier with one address or a CSV list.
Start verifyingLatest articles
Free Email Verifier Limits: What You Can Check Without Paying
See what a free email verifier can check, what kukudze's Free plan gives you (100 checks a month, the same 4 checks as paid plans), and…
How to Read a Verification Report and What to Suppress
Learn how to read an email verification report, translate each label into an action, and suppress invalid emails before the next send.
Syntax Check vs Full Mailbox Verification
Compare an email syntax check with mailbox verification: what each layer catches, what it misses, and when a format-only pass is not enough to send.